Add New User (video)
Click on the New button.
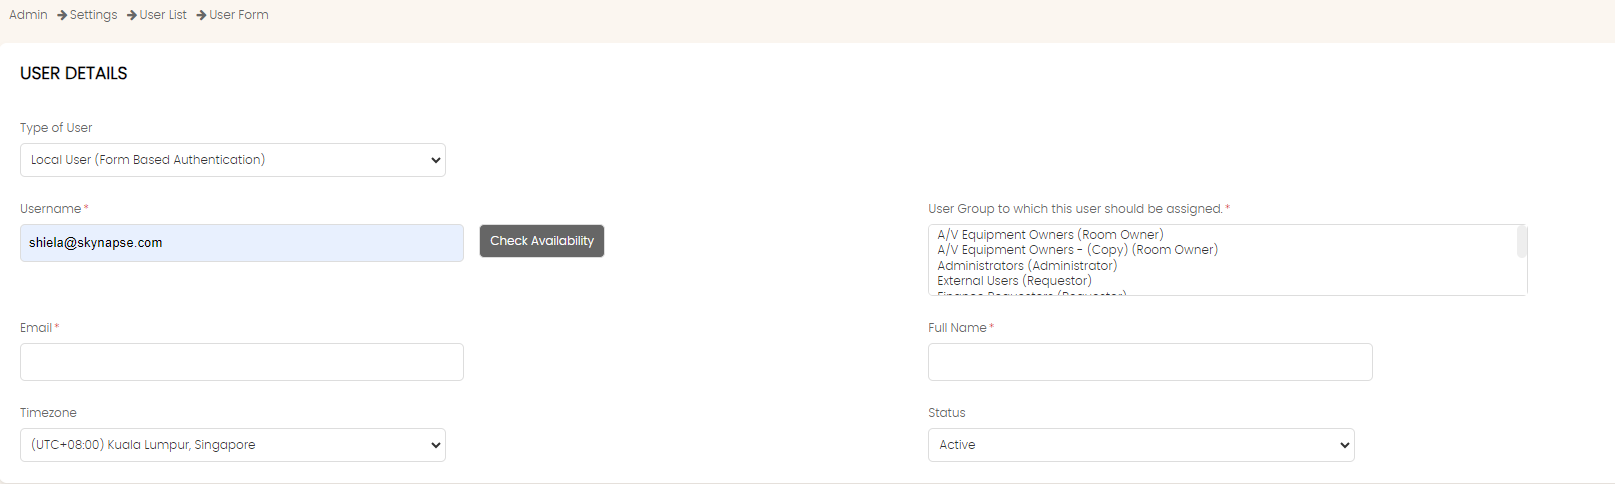
Leave the Type of User as it is.
In the Username field, enter the username of the user. Click on the Check Availability button to ensure that the username is not already added.
In the Email field, enter the email for this user. In many cases, the username and email will be the same. Use the Same as Username button to copy the username value into the email field.
In the User Group options list, select the group(s) in which the user should be added. You can select more than 1 group by pressing the CTRL button while making multiple selections.
Enter the name in the Full Name field.
Choose the Timezone from the drop down.
If you want the user to be immedialely active, then choose Active from the Status field. If you want to create the user for now but prevent access, choose the Inactive status.

If you have set the organizational heirarchy, select the Division, Department and Section fields.
Optionally, enter the Telephone, Mobile and Staff ID fields.

Choose Auto-generate Password if you want the system to assign a password to the user. Alternatively, you can manually enter and re-enter the password.
Choose the Auto-generate PIN (Highly recommended) to allow the system to assign a PIN for the user. If not, you can enter the PIN.
Click on Save User button to create the user.
When created, an email is sent to the user with the username and password as well as the login link.
Created with the Personal Edition of HelpNDoc: Streamline Your CHM Help File Creation with HelpNDoc