Booking Process (video)
Once all the dates, times and rooms are selected, click on the Proceed to book button.
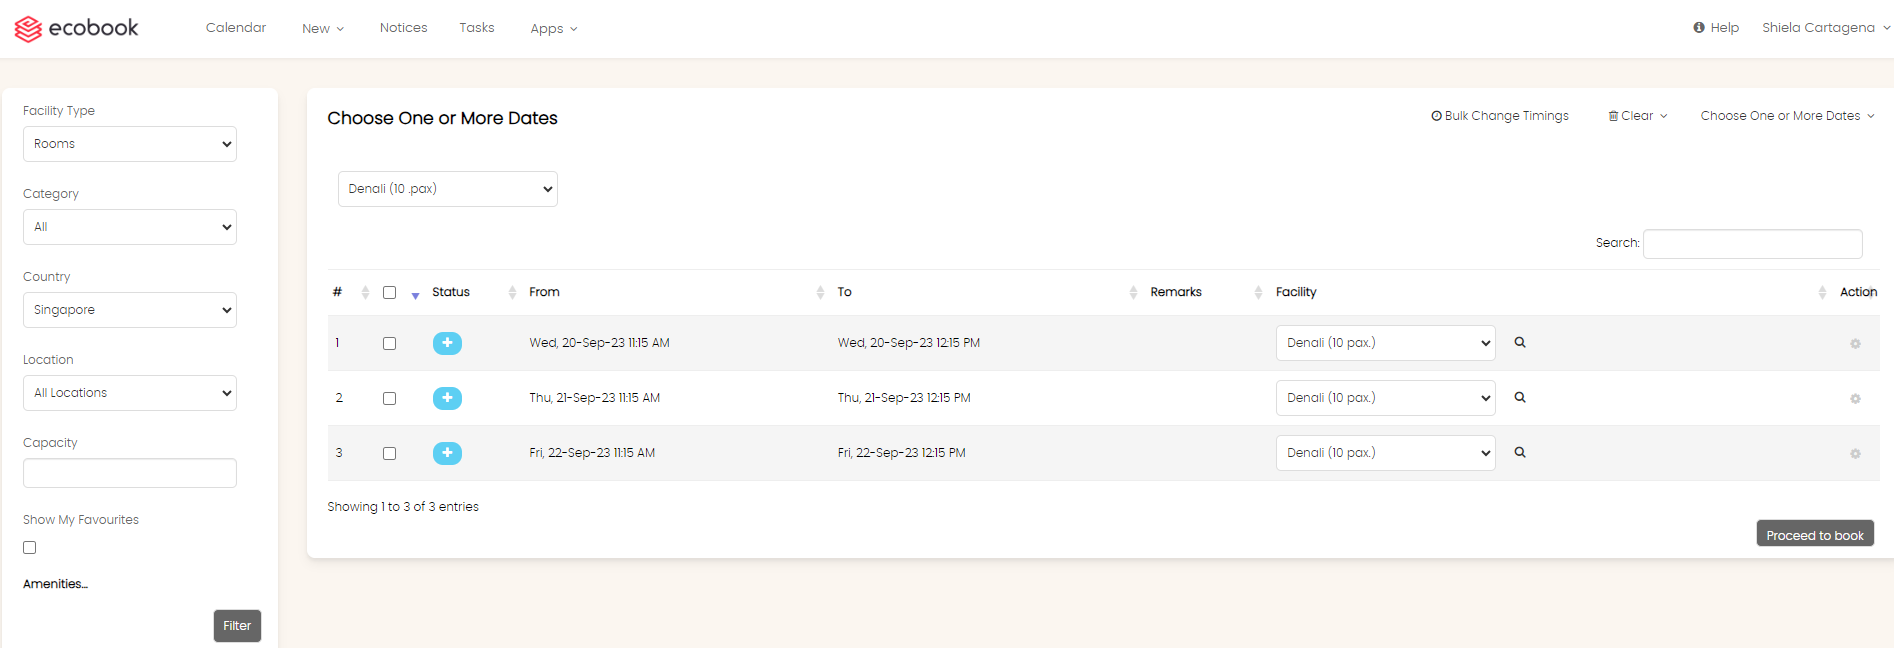
The pop-up form will open to enter the meeting details as shown below:
Room Booking
Booking Details Tab
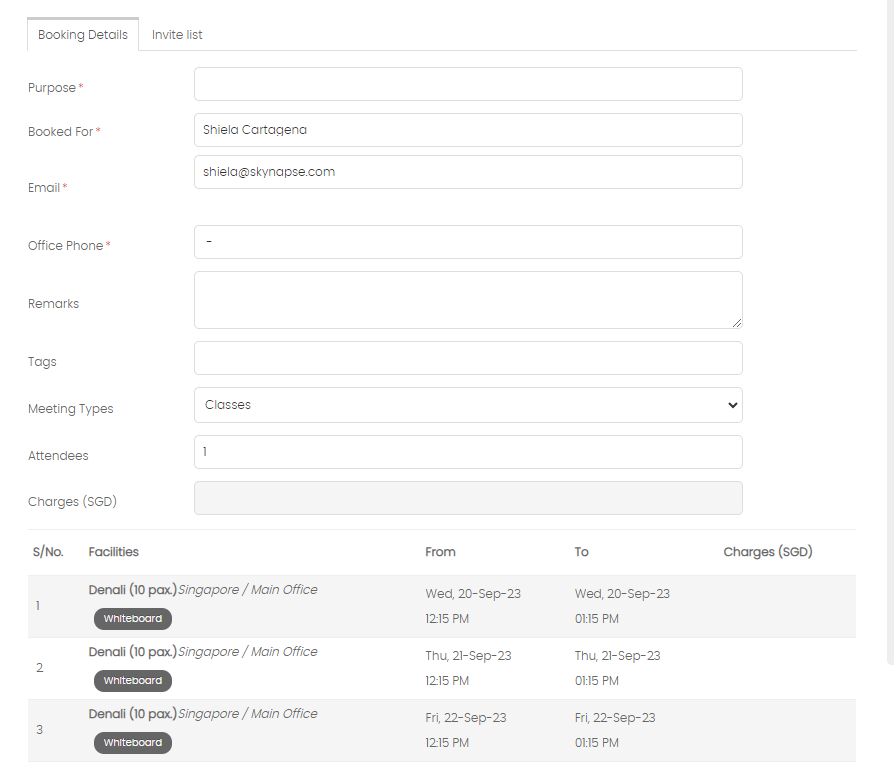

Enter the Purpose field with the purpose of the meeting.
The Booked For field is default set to the logged in user. If you want to change it, type in at least 3 characters before the auto-suggest option shows the list of users.
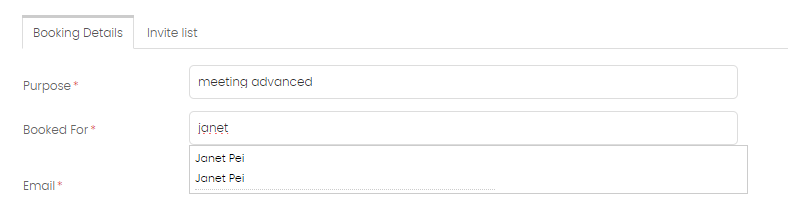
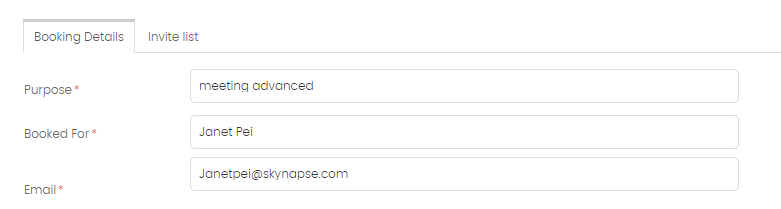
Choose from the option, by clicking on the name in the dropdown field. When selected, the email and telephone number will be automatically updated.
The Office Phone field shows the default number of the person in the Booked For field. It can be changed for this booking.
The Remarks field allows you to write custom information for this booking.
The Tags field allows you to enter a comma seperated list of keywords to identify this booking.
The Meeting Type field allows you to select the type of meeting.
The Attendees field allows you to enter the number of persons attending the meeting.
The Agree to Terms and Conditions checkbox must be selected if visible.
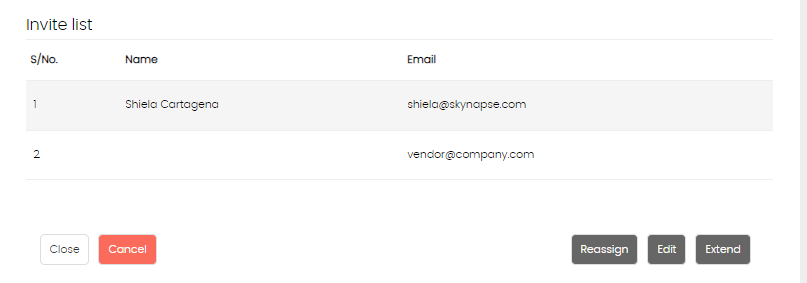
Invite List Tab
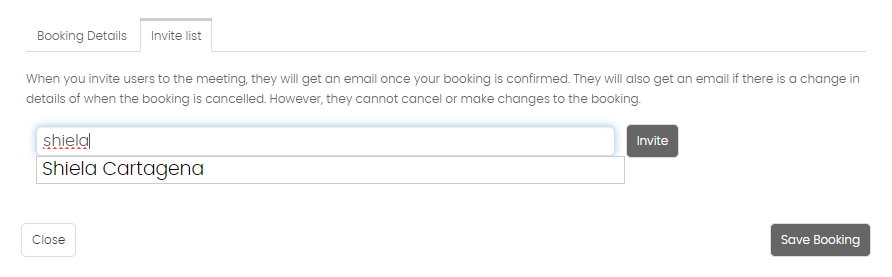
The Invite List tab allows you to enter both staff and external parties.
To enter staff, type in atleast 3 characters before auto-suggest shows the list of staff in the system. Choose from the list and click on Invite button. the user will be added to the list.
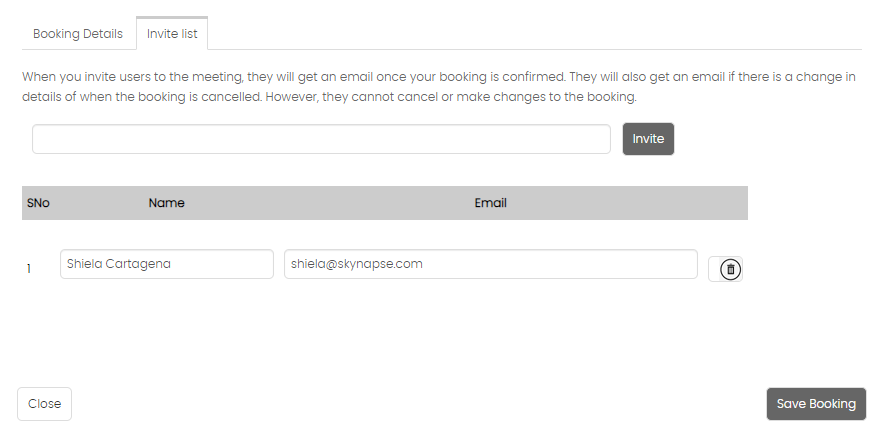
To add an external user who is not part of your staff, just enter the email address and click on the Invite button. The external user will be added to the list. You can enter the name of the external user in the Name field.
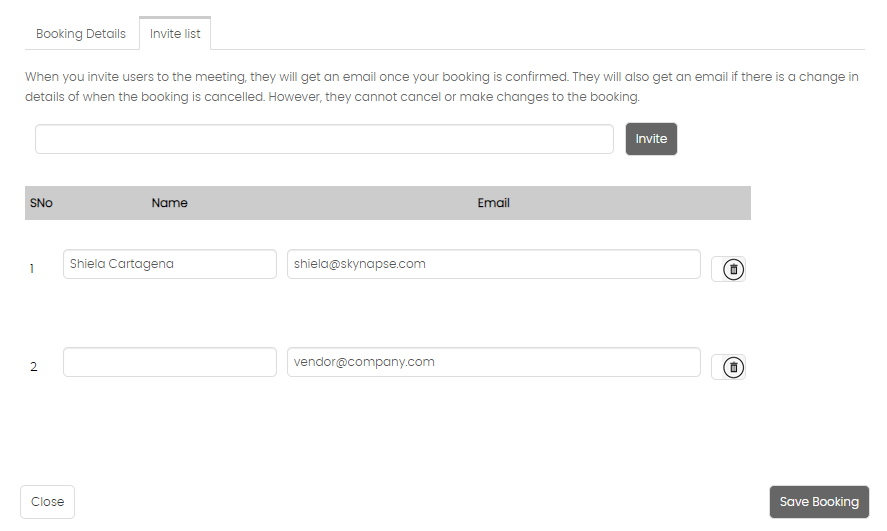
You can remove the user by clicking on the Trash button next to the user.
To cancel the booking process simply click on Close button or click anywhere outside the pop-up.
Once completed, click on the Save Booking button. Once submitted, the page will show the calendar with the newly created bookings.

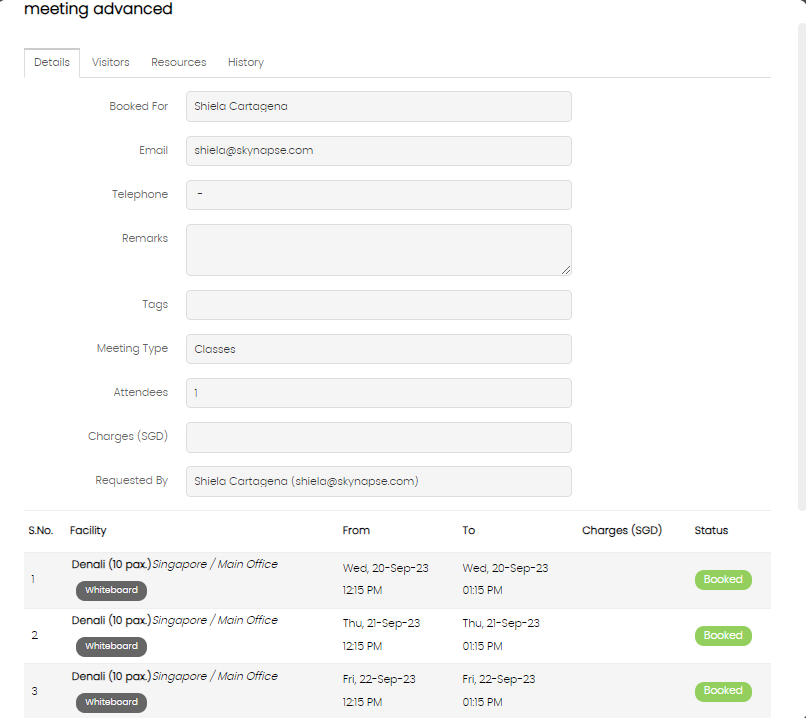
Click on the meeting to see the details as shown below:
Desk Booking
The desk booking pop-up does not have many fields to fill in as shown below:
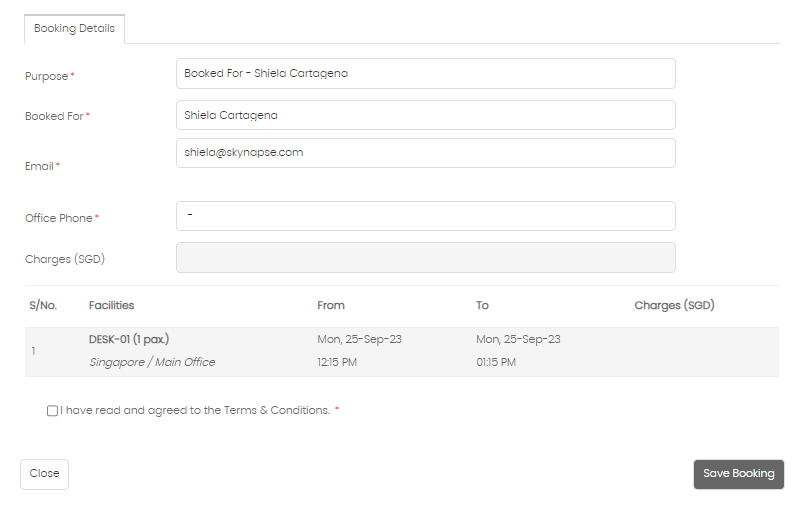
All the fields are pre-populated for the currently logged in user. If you want to book on behalf of someone else, then enter the name of the user in the Booked For field as explain above.
Once done, click on Save Booking.
Created with the Personal Edition of HelpNDoc: Experience a User-Friendly Interface with HelpNDoc's Documentation Tool