Introduction
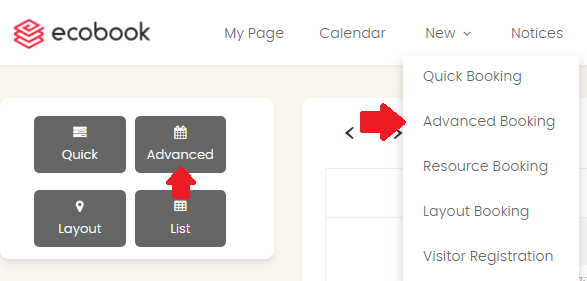
The Advanced Booking can be accessed from the top menu under the New menu or the quick access button on the calendar page.
Form View
The Advance Booking form allows you to create customized booking such as ad-hoc dates, recurring meetings and block bookings. The Advanced booking page is shown below.
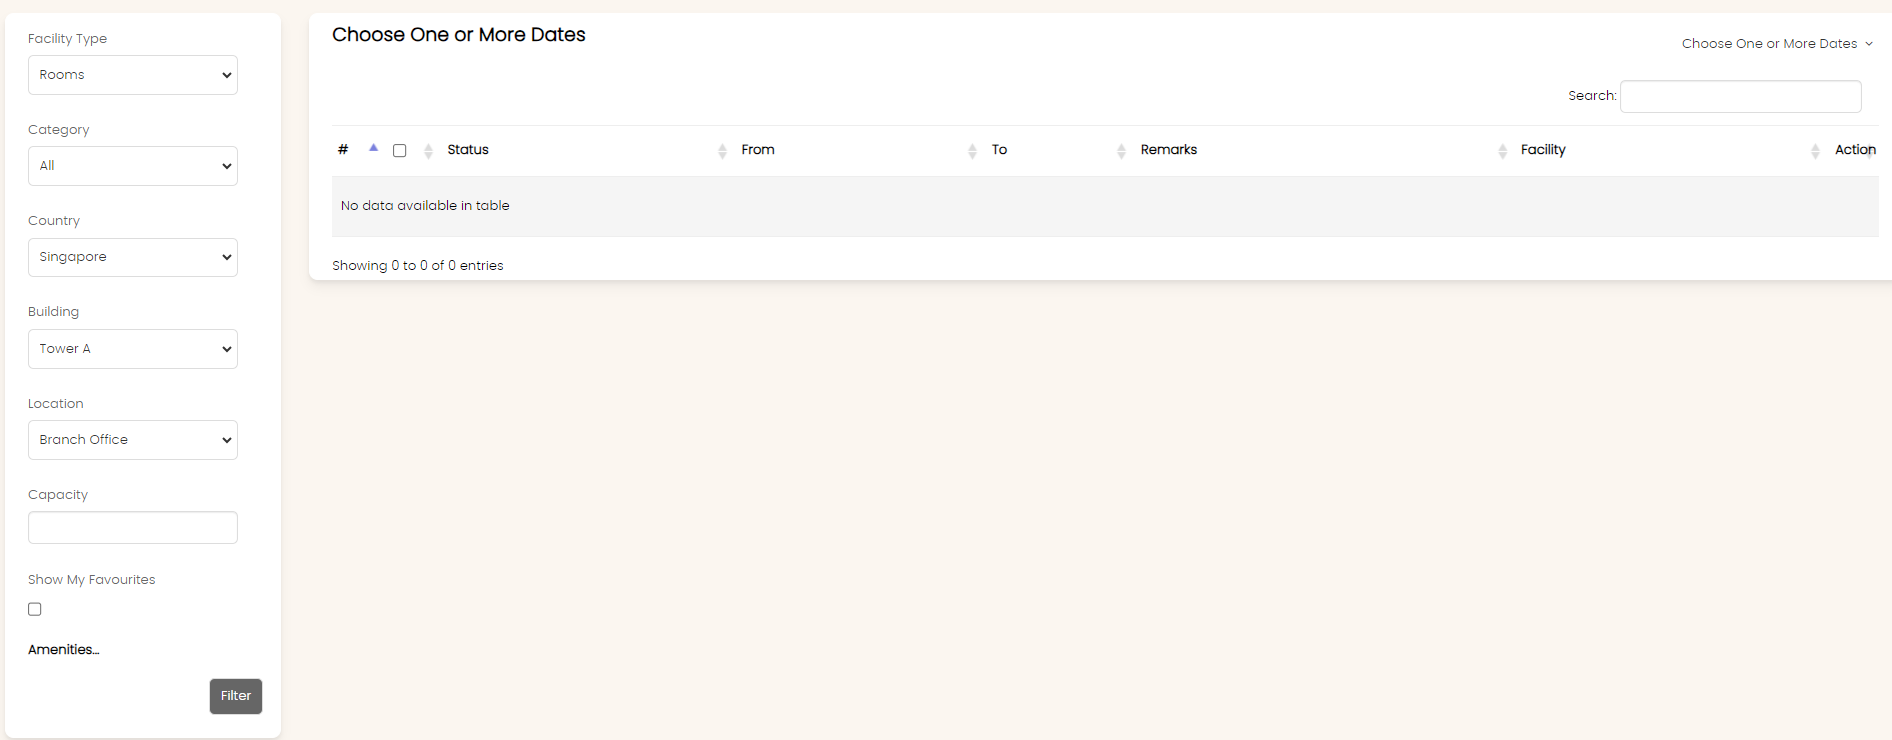
The filter on the left hand pane allows you to restrict search to specific fields input.
The Facility Type field allows you to choose between Rooms and Desks.
The Category field allows you to filter by the category of the facility.
Select country from the Country field.
Use the Location field to filter the location of the facility.
The Capacity field allows you to filter only facilities that meet or exceed the capacity indicated.
Select the Amenities that are needed. When selecting the amenities, note that the results will only return those facilities that have all the items selected.
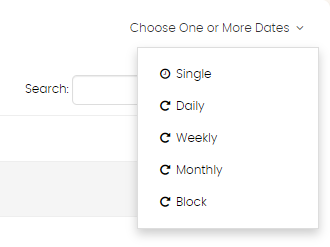
On the top right hand corner is the Choose One or More Dates option to choose different booking dates. This is covered below.
Single Option
Allows you to book one booking over multiple days unlike Quick Booking. When Single option is chosen, a pop-up will appear as shown below:
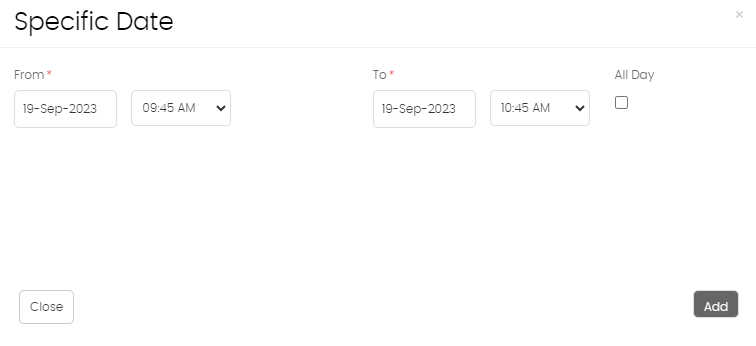
Choose a Start and End date and time or choose All Day option. Click on Add button.
Daily Option

Choose the From and To date. Alternatively, instead of the To field, you can enter the number of events in the No. of events field.
Enter the Start Time and End Time fields or choose All Day option.
Enter the frequency of occurrence in the Occurs Every field.
Click on Add button.
Weekly Option
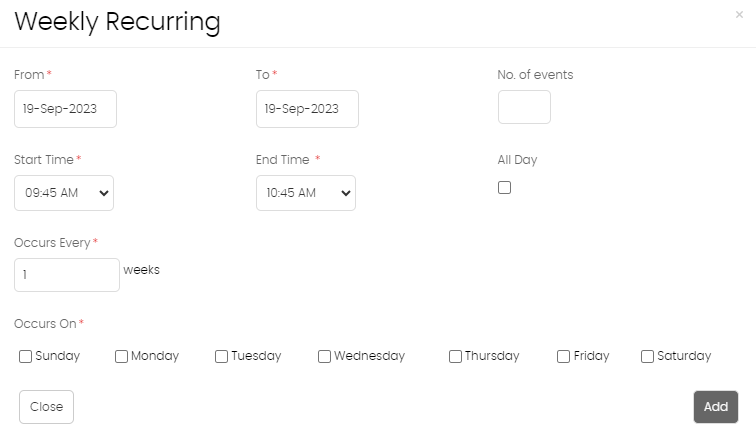
Choose the From and To date. Alternatively, instead of the To field, you can enter the number of events in the No. of events field.
Enter the Start Time and End Time fields or choose All Day option.
Enter the frequency of occurrence in the Occurs Every field.
Indicate the days of the week in the Occurs On field.
Click on Add button.
Monthly Option
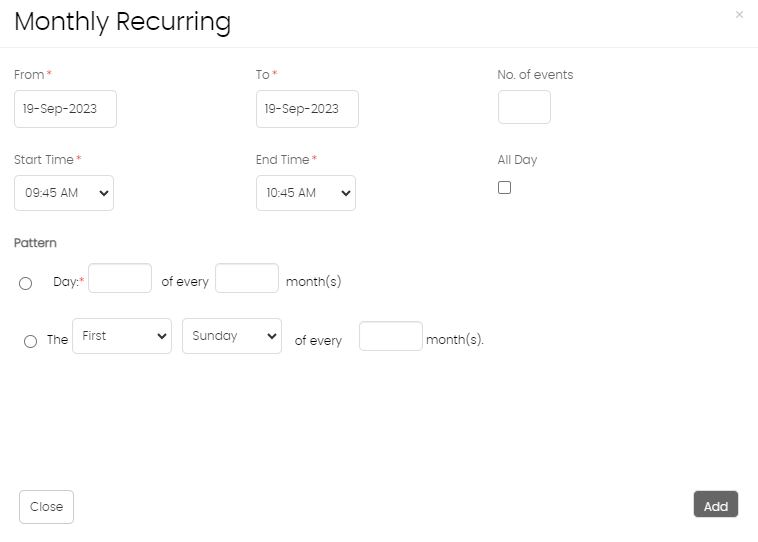
Choose the From and To date. Alternatively, instead of the To field, you can enter the number of events in the No. of events field.
Enter the Start Time and End Time fields or choose All Day option.
In the Pattern section, you can choose to indicate Day of every Month.
Alternatively, you can also indicate the spacific occurence of day in the month.
Click on Add button.
Block Option
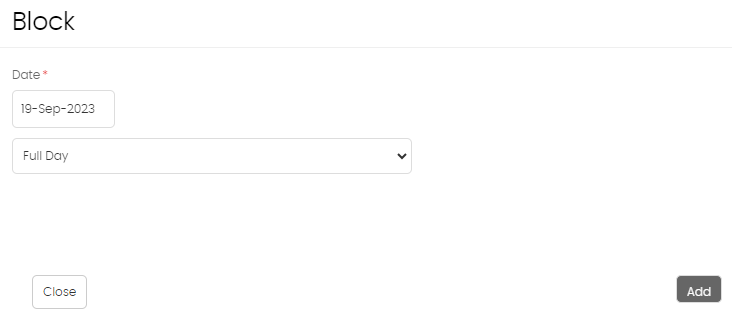
Choose the Date field and select from the pre-defined time duration in the dropdown.
Click on Add button.
Availability
Once the date range is chosen from one of the options above, the page will show the individual dates and the available options as shown below.
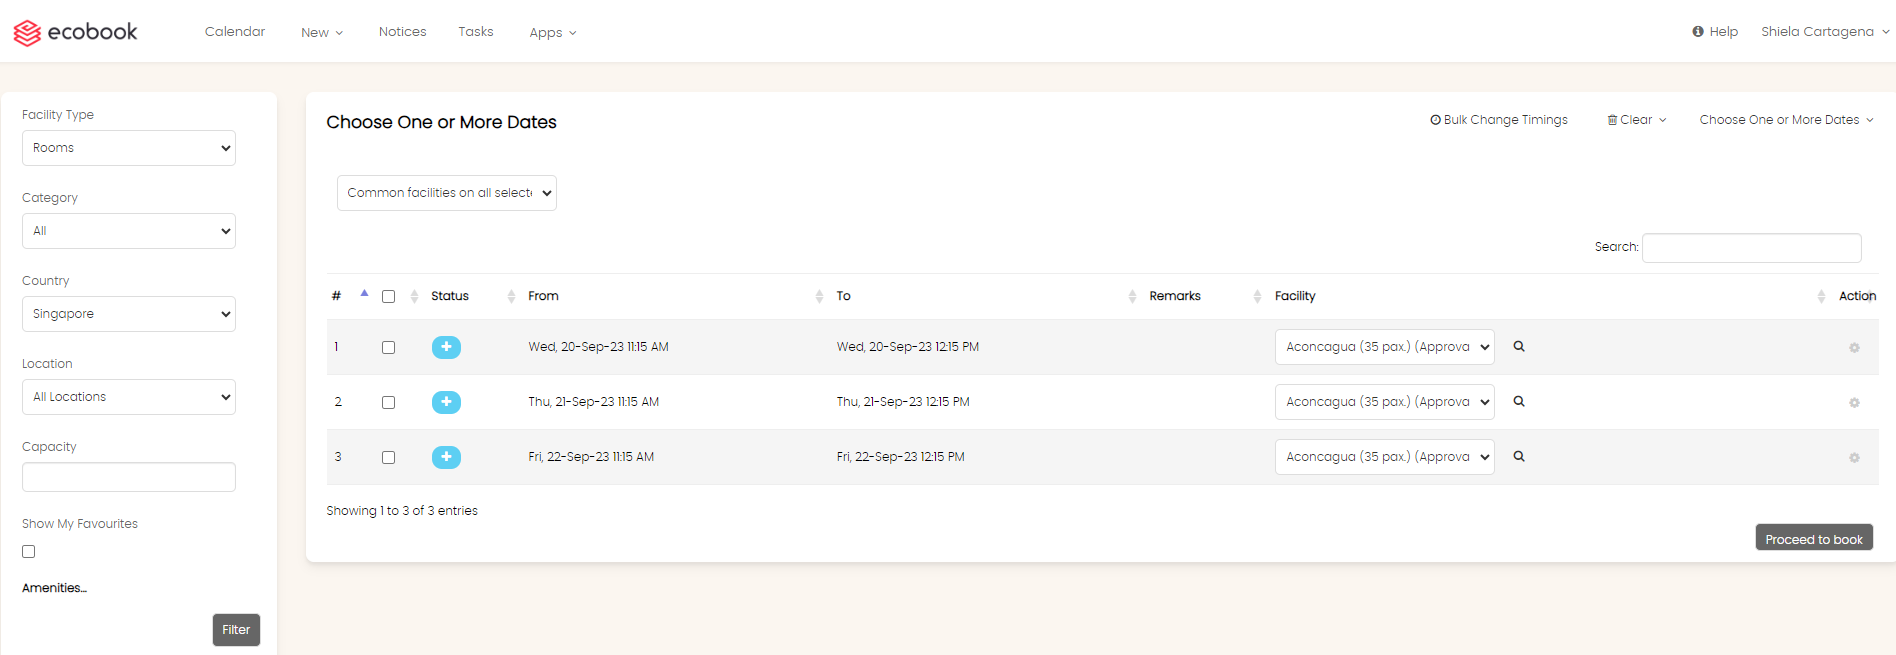
The table shows each date and a drop down of the available rooms for each of those dates.
Use the Checkbox input to bulk change timings or remove rows.
Use the Facility drop down to select the facility you want to book.
Use the View Details button to see the details of the facility you have chosen in the drop down.
Use the Edit in the Actions menu of each row to Change Date/Time.
Use the Remove in the Actions menu to remove this row from the list.
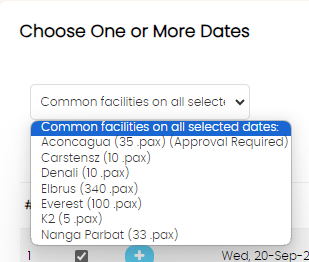
Common Facilities
At the top is the Common facilities on all selected dates option. This drop down shows the facilities that are available on all the dates. If a facility is not available on one of the dates, then it will not be shown in the drop down.
Change Timing
To change timing of a specific row, select Edit in the Actions menu.
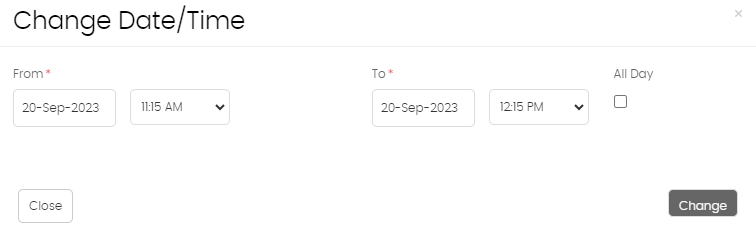
Enter the new date and time range in the From and To fields. Click on Change.
The new date and time range will be reflected in that row. Do note that, if a specific facility is not available in the new timings, it will not be shown.
Bulk Change Timings
Allows you to change multiple rows from one time to another.
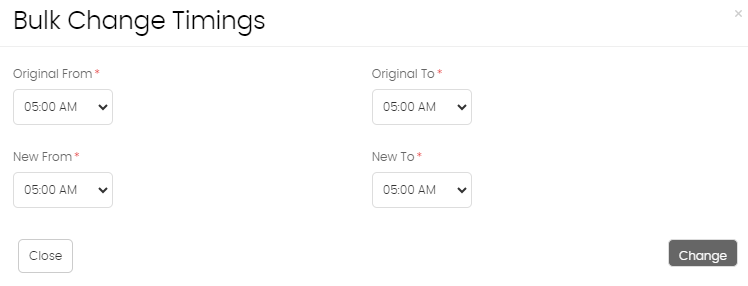
Enter the Original From and Original To fields.
Enter the New From and New To fields. Click on Change button.
Once clicked, the rows that had the original timings will be changed to the new timings. Do note that, if a specific facility is not available in the new timings, it will not be shown.
Clear Rows
To clear specific rows, use the checkbox next to each row and then click on the Clear drop down and choose Selected option. If you can want to clear all, just choose the All option.
Created with the Personal Edition of HelpNDoc: Streamline Your Documentation Process with a Help Authoring Tool