Managing Blacklists
Click on the Settings and Blacklists.
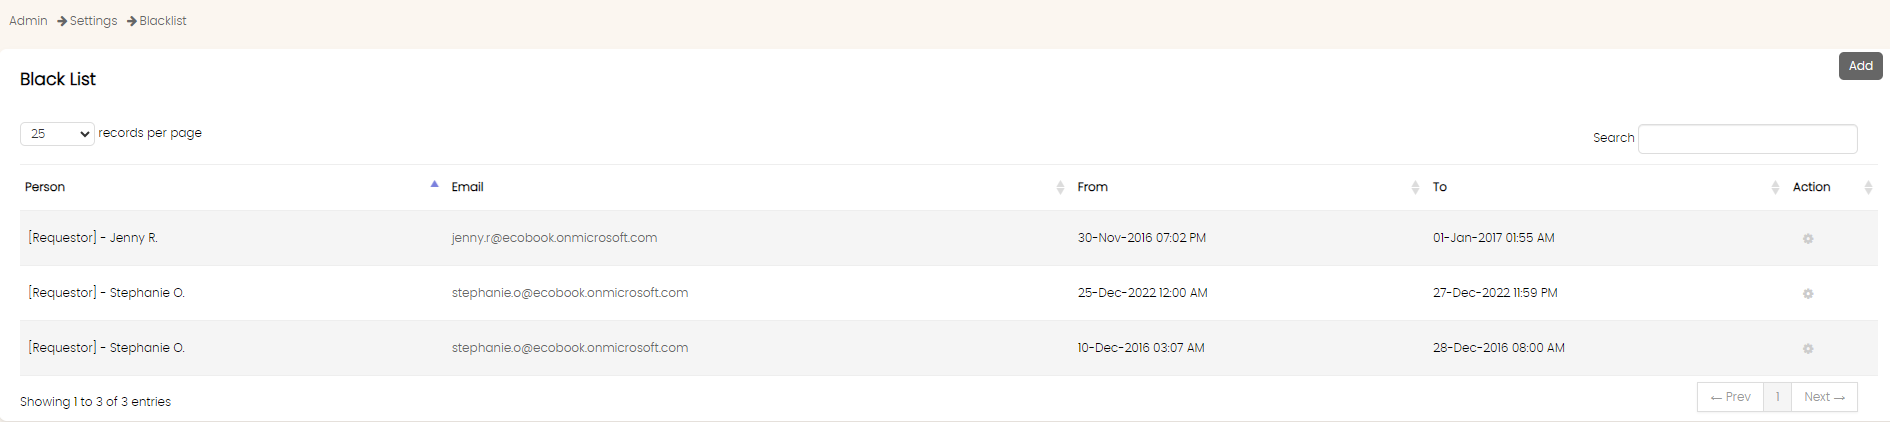
The records show the users who have been blacklisted.
Click on Add button to add a new blacklist user.
Use the search text box to filter the records in the table.
The Remove button in the action menu allows you to remove a specific blacklisted record.
Add Blacklist
To add a blacklist, click on the Add button.

Select the user from the User drop down.
Use the From and To field to choose the date range within which the user will be blacklisted. Under this setting, the user will be automatically granted access after the To date has passed.
Once selected, click on the Save Blacklist button.
Important Note
Blacklisting a user does not mean his or her booking will be canceled. The user will just not be able to login to the system.
Remove Blacklist
To remove a blacklisted user, click on the Remove button next to the record.
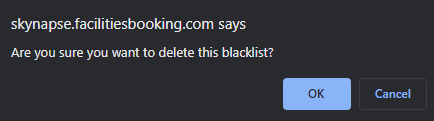
Click on OK in the confirmation box. Once confirmed, the record will be removed.
Created with the Personal Edition of HelpNDoc: Effortlessly Create High-Quality Help Documentation with a Help Authoring Tool