Add & Edit Group (video)
Add New Group
Click on the New button.

The form to create a new group is shown. The default Group Type field selected in Requestor. The other options are Administrator and Room Owner.
The Permissions table shows the list of permissions applicable to the group type selected. Depending the type, the permissions will be different. For example, for Administrator, the permissions are shown below.
Important Note
A requestor group once created, cannot be changed to an Administrator or Room Owner group.
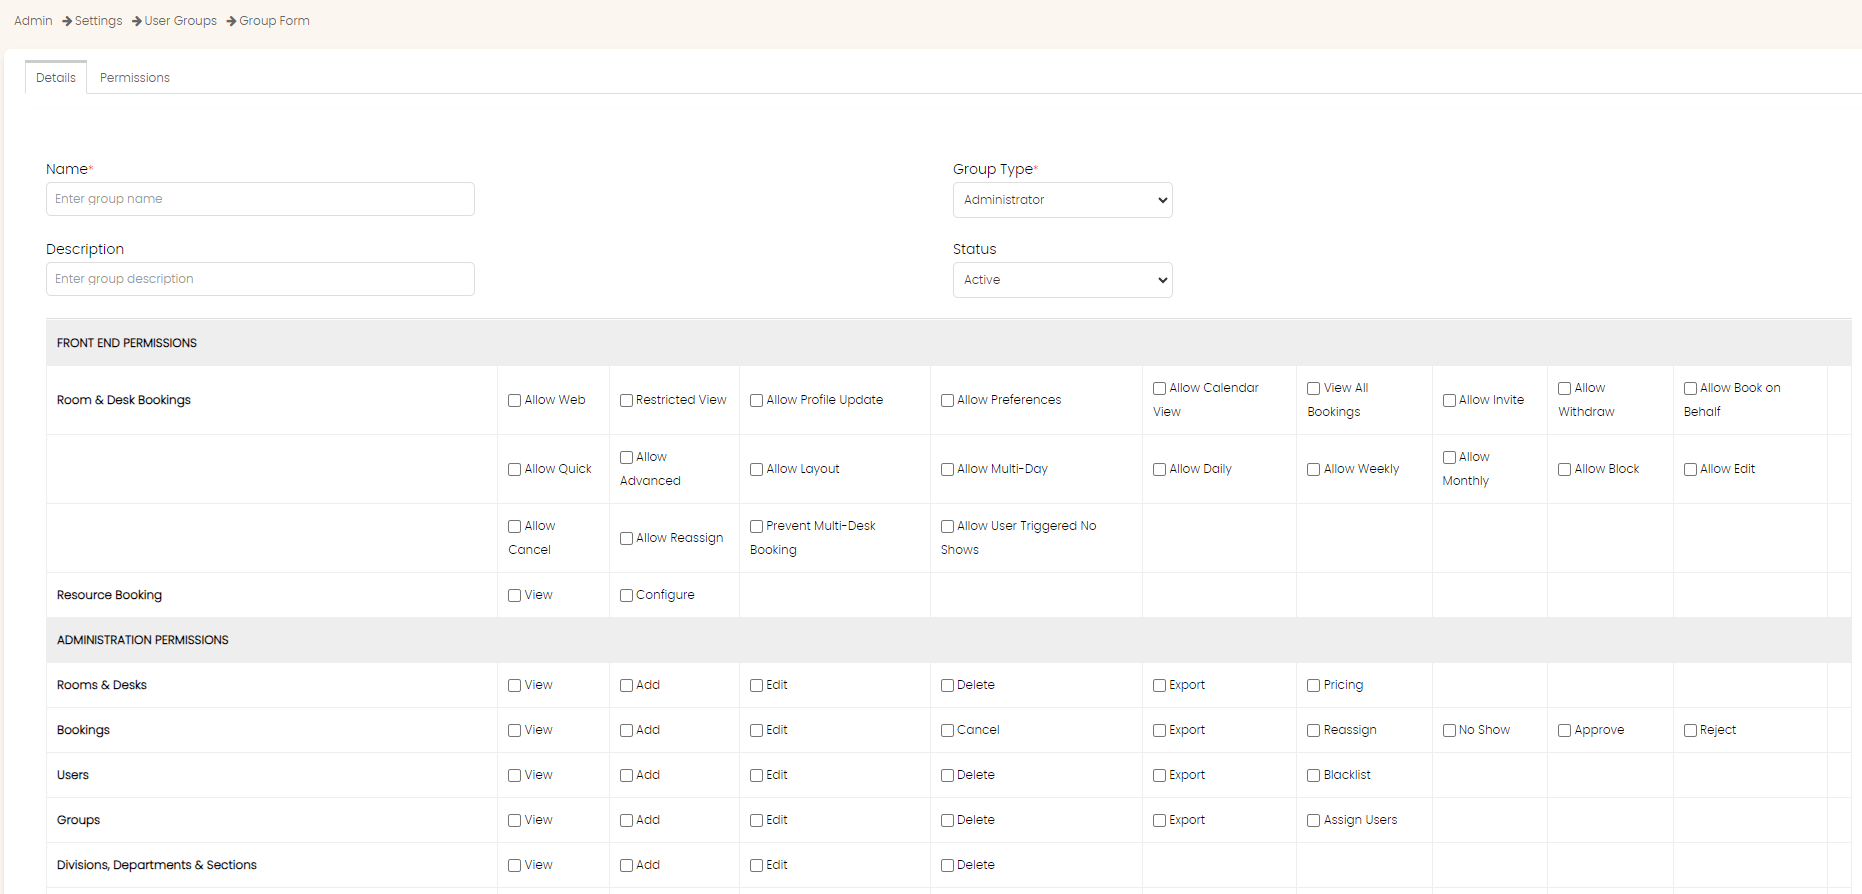
Basic Information
Enter the name of the group in the Name field.
Choose the group type from the Group Type field.
Enter some descriptive text in the Description field. This is only visible to the administrators.
Choose the status of the group from the Status field. For the group to be usable, select the Active option.
Permission Information
Mouse over each check box to see what the meaning of the check boxes as shown below.
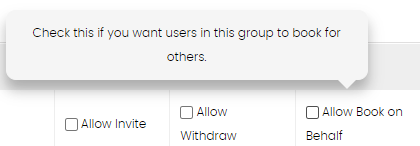
For more information on the meaning of the check boxes, please click here.
Select the permissions you want to give to this group.
Select the Permissions tab.
The list of all the facilities are shown with the View and Book permissions selected.
Uncheck the specific facility that you do not want this group of users to view or book.
Note that View cannot be unchecked without book being unchecked.
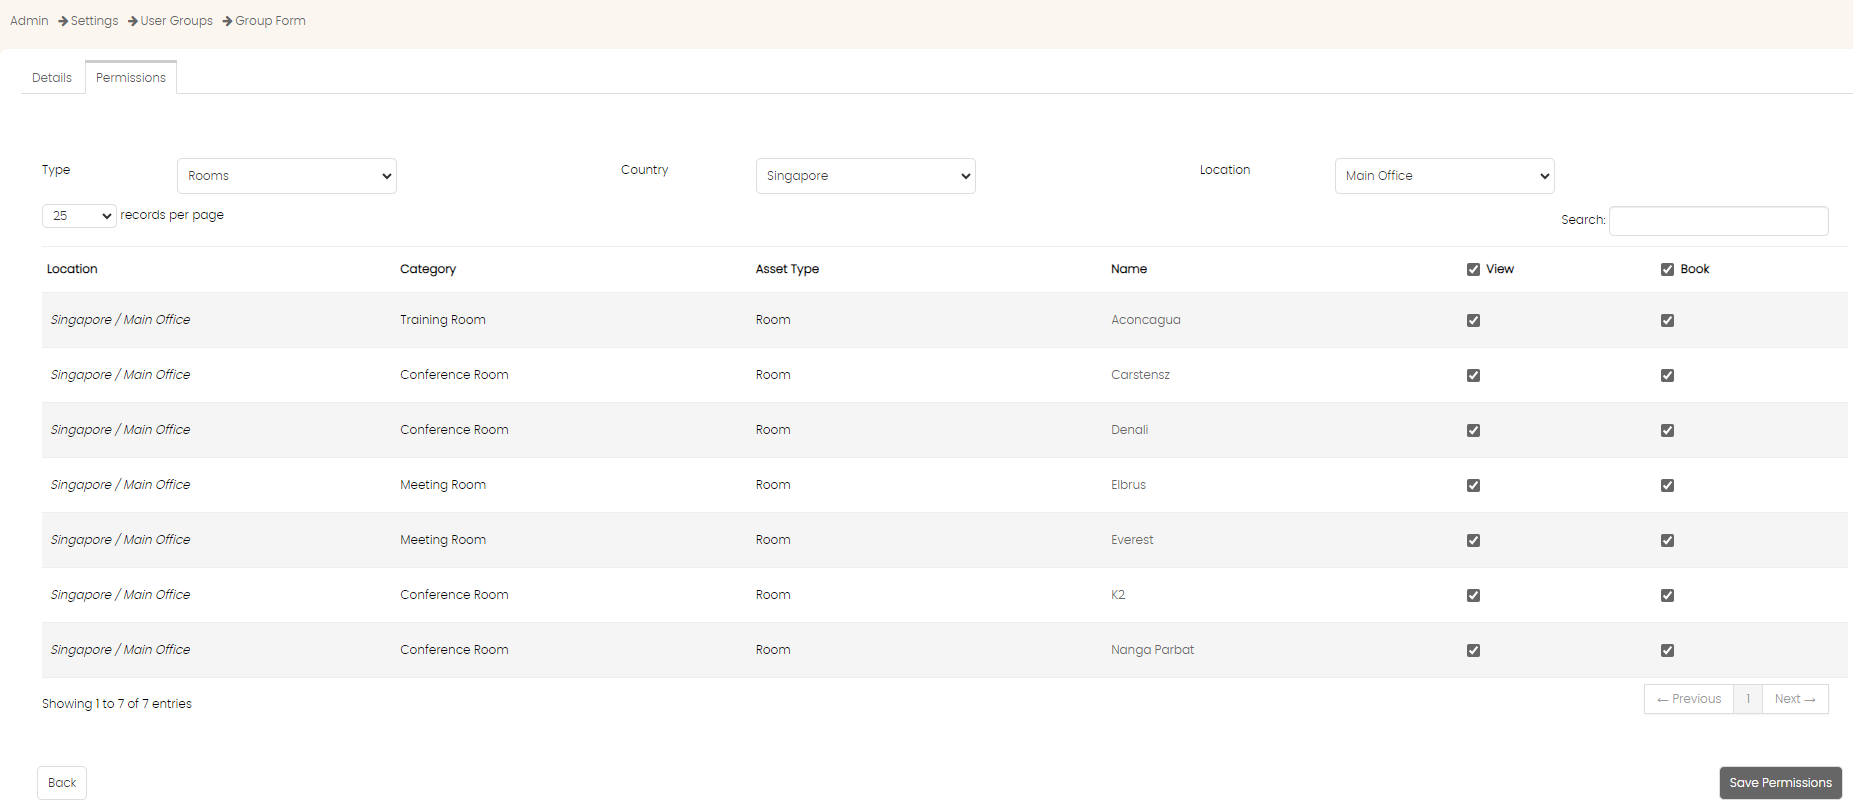
Click on Save Permissions button at the bottom. The group will be saved and shown in the list.
Only after the group has been created, can you add members to the group.
Edit Group
Click on the Edit menu in the Actions next to the group that you want to edit.
The above form will load with all the information pre-populated.
Make changes to the form and then click on Save button.
Important Note
Group changes will only take effect when the user logs in again. It will not take effect if the user is already logged in.
Created with the Personal Edition of HelpNDoc: Maximize Your Documentation Capabilities with HelpNDoc's User-Friendly UI